Hello everyone! Remember those Gelli prints I showed you a few weeks back? Well...I have a project to show you today that uses those fun prints and turns them into something many of us use every day.
|
These! Yes, these fun prints. I will turn these into Planner Dividers! Who doesn't love a beautiful planner divider?
|
|
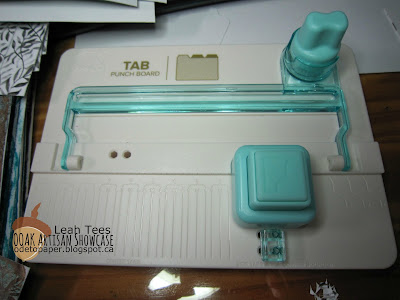
There are two tools I will be using for this project: the We Are Memory Keepers Planner Punch Board and Tab Punch board. Both of these tools are new to me but given how much I enjoy my other WRMK tools, I am sure these will be no different :)
|
|
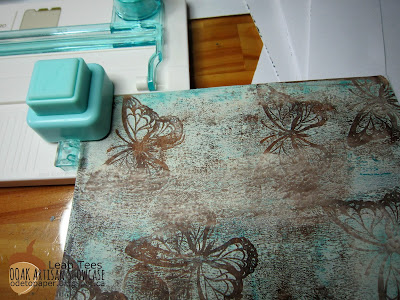
The first thing I did was take my beautiful Gelli prints and cut them to size. My Gelli plate is 5 x 7, so there wasn't much cutting down to be done; my planner is the Mini Happy Planner, so the size is almost perfect already! Then I used the Tab Punch Board to round all the corners on my divider pages.
|
|
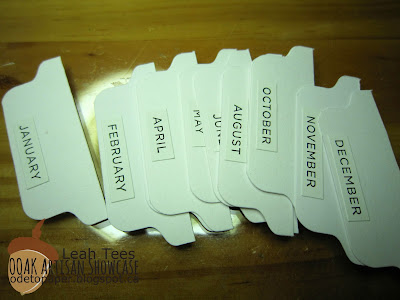
Then I used some white card stock, cut into 1.25 inch strips to create tabs for my divider pages, using the Tab Punch Board. There are several easy to understand videos on Youtube for doing this.
|
|
I had some stickers for the name of the months, and I also added some paint to the edges to match the paint used in the Gelli prints.
|
|
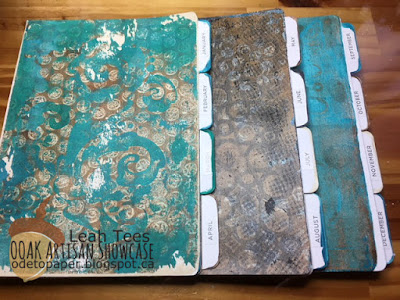
The next step was to glue the tabs on the divider pages so that they were evenly spaced. Starting at the top and working down, I was able to make three groups of four months.
|
|
I am so in love with these, lol. They are turning out great so far!
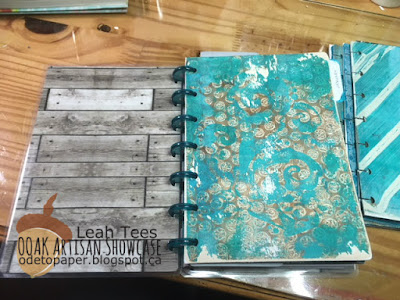
The next step is to use the Planner Punch Board to create the holes for the dividers. The Happy Planner uses the disc binding system, so regular holes will not work.
|
|
I used the Planner Punch Board and the specific punches for the disc binding holes and created a template to use to make sure everything was spaced properly.
|
|
Success! Well, lol, so far...The next step is to punch the actual page dividers. This part always makes me nervous lol. The last step!
|
|
Of course it helps tremendously that the Planner Punch Board has these handy dandy stickers on the bottom that tells you exactly the sizes and placing for the hole punches for many different planners and sizes.
|
|
The trick to using this punch board is to punch one set of holes at either the top or the bottom, and then flip the page and punch the opposite end.
|
|
One more test with the template!
|
|
And we have success! Can't wait to start using them in January :) Thanks for stopping by ~ Leah
|
|
|





No comments:
Post a Comment